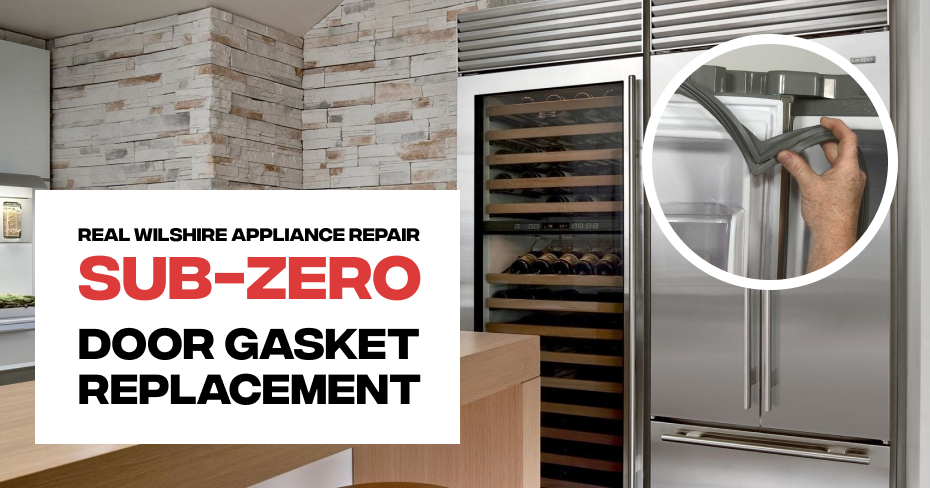
Sub-Zero Door Gasket: Ensuring Refrigeration Excellence in Wilshire, Los Angeles
Is your Sub-Zero refrigerator not performing at its best? The answer might lie in the condition of your door gasket. In this detailed blog, we’ll delve into common door gasket problems, the diagnostic steps for pinpointing issues, and the essential role of a well-maintained gasket in Wilshire, Los Angeles. Rely on Real Wilshire Appliance Repair for all your Sub-Zero needs.
Common Sub-Zero Door Gasket Issues
Inadequate Sealing: An aging or damaged door gasket can result in poor sealing, leading to temperature fluctuations and energy wastage.
Condensation Trouble: Notice moisture forming around the refrigerator door? It could be due to a compromised door gasket, causing humidity imbalance and potential food spoilage.
High Energy Consumption: A deteriorating gasket forces your Sub-Zero refrigerator to work overtime, driving up energy bills and impacting efficiency.
Diagnostic Steps for Sub-Zero Door Gasket Problems
If you suspect that your Sub-Zero refrigerator’s door gasket is causing issues, here are the diagnostic steps you can follow to assess the situation:
Visual Inspection:
– Examine the entire door gasket for visible signs of wear, tears, or damage.
– Pay close attention to the edges, corners, and folds of the gasket.
Dollar Bill Test:
– Open the refrigerator door and place a dollar bill along the gasket’s edge.
– Close the door on the dollar bill, ensuring it’s fully trapped between the gasket and the refrigerator cabinet.
– Gently pull the dollar bill out. If it slides out with minimal resistance, the gasket might not be sealing properly.
Condensation Check:
– Inspect the exterior of the refrigerator door for any signs of moisture, water droplets, or condensation.
-Check the interior side of the gasket for similar condensation or wetness.
Light Test:
– Place a small flashlight inside the refrigerator.
– Close the door and turn off the kitchen lights.
– Examine the edges of the closed door for any visible light leakage. Light leakage indicates gaps in the gasket’s seal.
Temperature Monitoring:
– Monitor the temperature inside the refrigerator and freezer compartments over a period of time.
– Note any significant temperature fluctuations or difficulty maintaining the desired temperature.
Ice Accumulation:
– Check the interior of the freezer compartment for any ice buildup around the gasket’s edges.
– Ice accumulation can indicate warm air entering through gaps in the gasket.
Magnetic Pull Assessment:
– Close the refrigerator door gently and observe the magnetic pull along the entire gasket’s length.
– If you notice weaker magnetic attraction in specific areas, it could indicate gaps or misalignment.
Auditory Clues:
– Close the refrigerator door gently and listen for any unusual sounds, such as hissing, whistling, or air escaping.
– These sounds might indicate air leakage through gaps in the gasket.
Gasket Elasticity Check:
– Gently press the gasket with your fingers along its length.
– The gasket should feel pliable and spring
Changing the door gasket of a Sub-Zero refrigerator requires careful attention to detail. Here’s a step-by-step guide to help you through the process:
Note: Before you begin, make sure you have the replacement gasket ready. It’s also recommended to consult your Sub-Zero refrigerator’s manual for specific instructions and safety precautions.
Step 1: Gather Tools and Materials
- Replacement Sub-Zero door gasket
- Screwdriver (usually Phillips-head)
- Mild soapy water or warm water for lubrication
- Towel or cloth for cleaning
Step 2: Preparation
- Unplug the refrigerator from the power source.
- Empty the contents of the refrigerator door shelves to ensure easy access.
Step 3: Remove the Old Gasket
- Open the refrigerator door fully.
- Starting at one corner, carefully peel the old gasket away from the door frame. Use a screwdriver if needed to help lift the gasket edge.
Step 4: Clean the Door Frame
- Use a mild soapy water solution or warm water to clean the door frame where the old gasket was attached.
- Wipe off any residue or dirt, ensuring a clean surface for the new gasket.
Step 5: Install the New Gasket
- Unbox the replacement gasket and ensure it’s the correct size and type for your Sub-Zero refrigerator.
- Starting at a corner, align the new gasket with the corresponding corner of the door frame.
- Press the gasket firmly into the groove along the door frame. Use your fingers to push the gasket securely in place.
Step 6: Secure the Gasket
- As you press the gasket into place, you’ll find screw holes along the door frame. Align these holes with the holes in the gasket.
- Insert screws into the holes and tighten them using a screwdriver. Be careful not to overtighten, as it could damage the gasket.
Step 7: Check the Seal
- Close the refrigerator door gently and observe the seal.
- The gasket should form a consistent seal along the entire perimeter of the door. Check for any gaps or unevenness.
Step 8: Plug in the Refrigerator
- Once you’re satisfied with the new gasket’s installation, plug the refrigerator back into the power source.
Step 9: Test the Seal
- After the refrigerator has been running for a while, perform a simple dollar bill test:
- Place a dollar bill between the door and the refrigerator body.
- Close the door and gently pull the bill. It should offer some resistance if the seal is effective.
Replacing the door gasket of a Sub-Zero refrigerator requires precision and patience. If you’re unsure about any step or if the process seems complex, it’s recommended to seek professional assistance. Real Wilshire Appliance Repair can provide expert help to ensure the proper replacement of your Sub-Zero door gasket, maintaining the efficiency and integrity of your appliance. Contact our qualified technical support service at 844-471-2989 or schedule now, and our experienced technicians will assist you on the same day!